Voltage Regulator
Designing custom linear voltage regulator PCB converting 12V to 7V for exhibition lighting.

Why did I need it?
A linear voltage regulator is used to regulate an input voltage to an output voltage. For an exhibition setup, I wanted to power four 7 V lamps from a 12 V power source. Switching power supplies are normally available for nominal voltages. However, since 7V deviates from these standards and I only had one day for possible troubleshooting, I had to come up with a quick and easy solution. I therefore decided to design a linear voltage regulator.
Circuit Design
Unlike conventional power supplies, the linear regulator converts excess energy into heat. So when our light draws 1A of current, the remaining 5V (12-7) – which result in 5W – will be converted to heat. This type of regulator is therefore not suitable for frequently manufactured and used products. However, for quick, one-time solutions, it is very simple and straightforward.

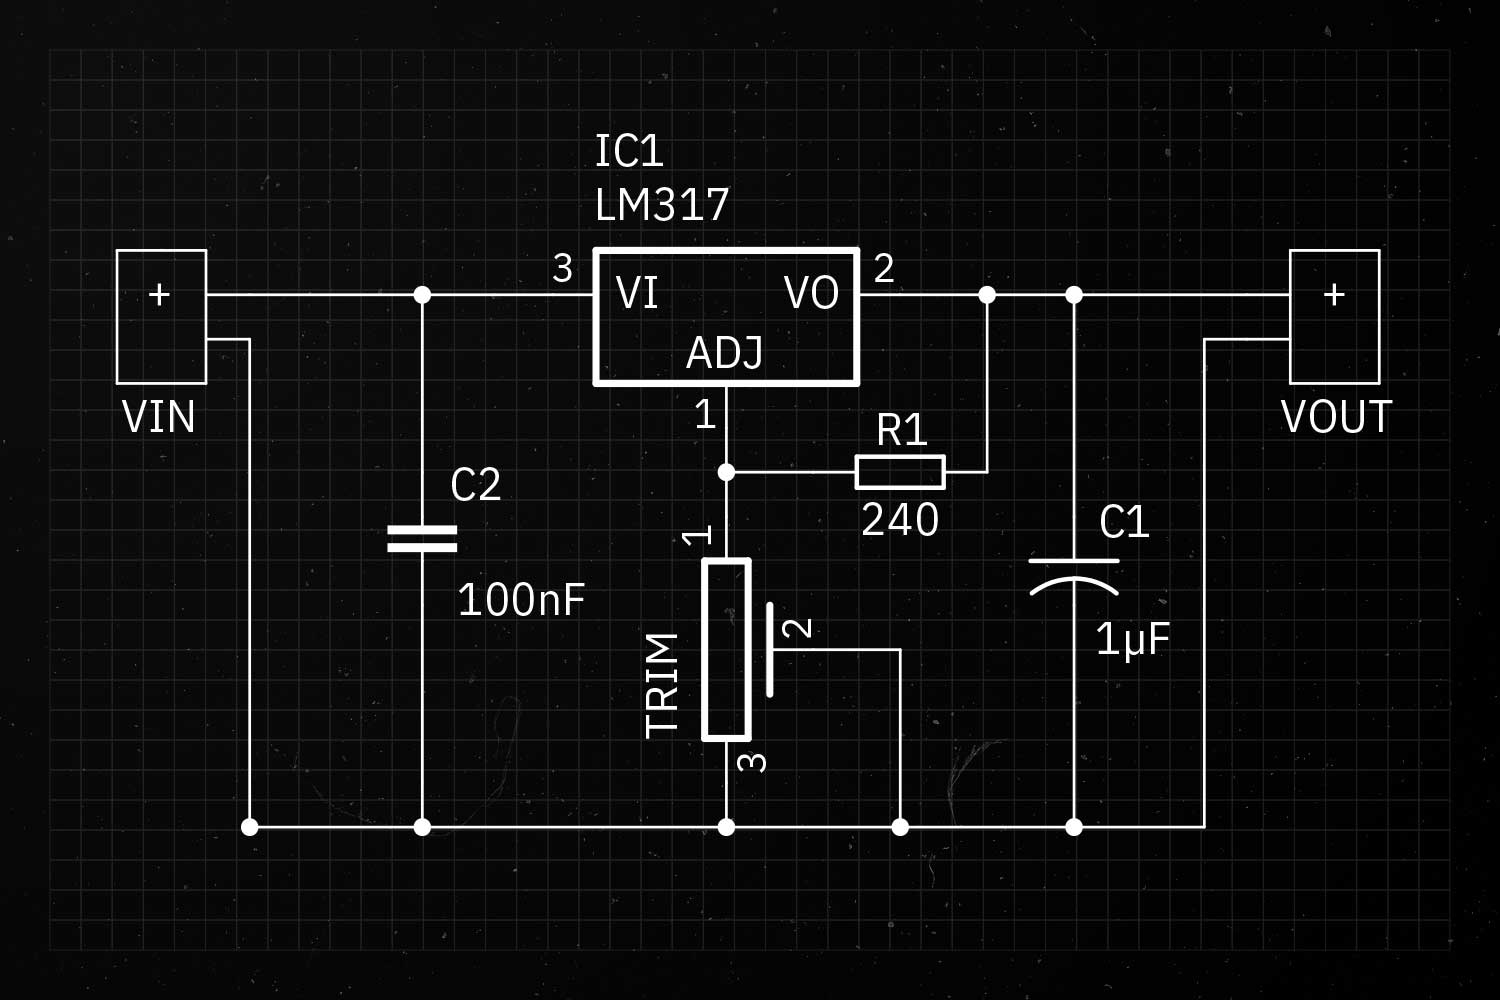
Now let's take a look at the circuit. At the heart of it is an LM317. This is the actual voltage regulator. We connect the Adjust PIN to a trimmer (TRIM) and the trimmer to ground. We will also connect the trimmers wiper to ground. With a trimmer the voltage can be adjusted much more precise than with a rotary potentiometer. We also connect the Out PIN to the trimmer via a 240Ω resistor (R1). To smooth out fluctuations we add two capacitors (C1, C2) to the input and output.
PCB
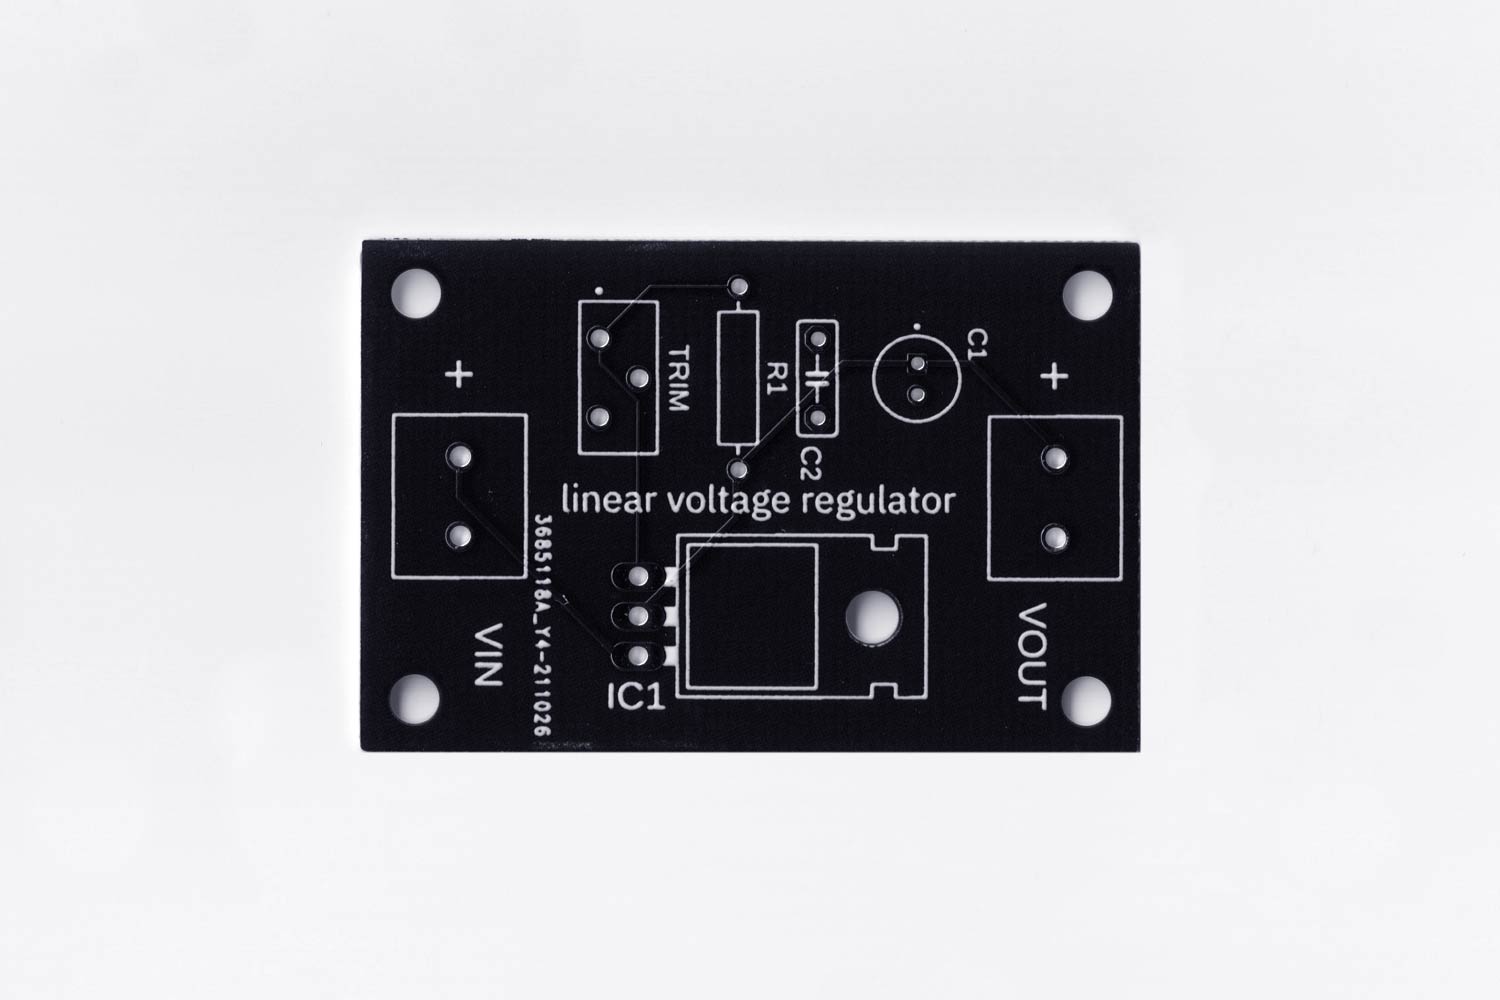
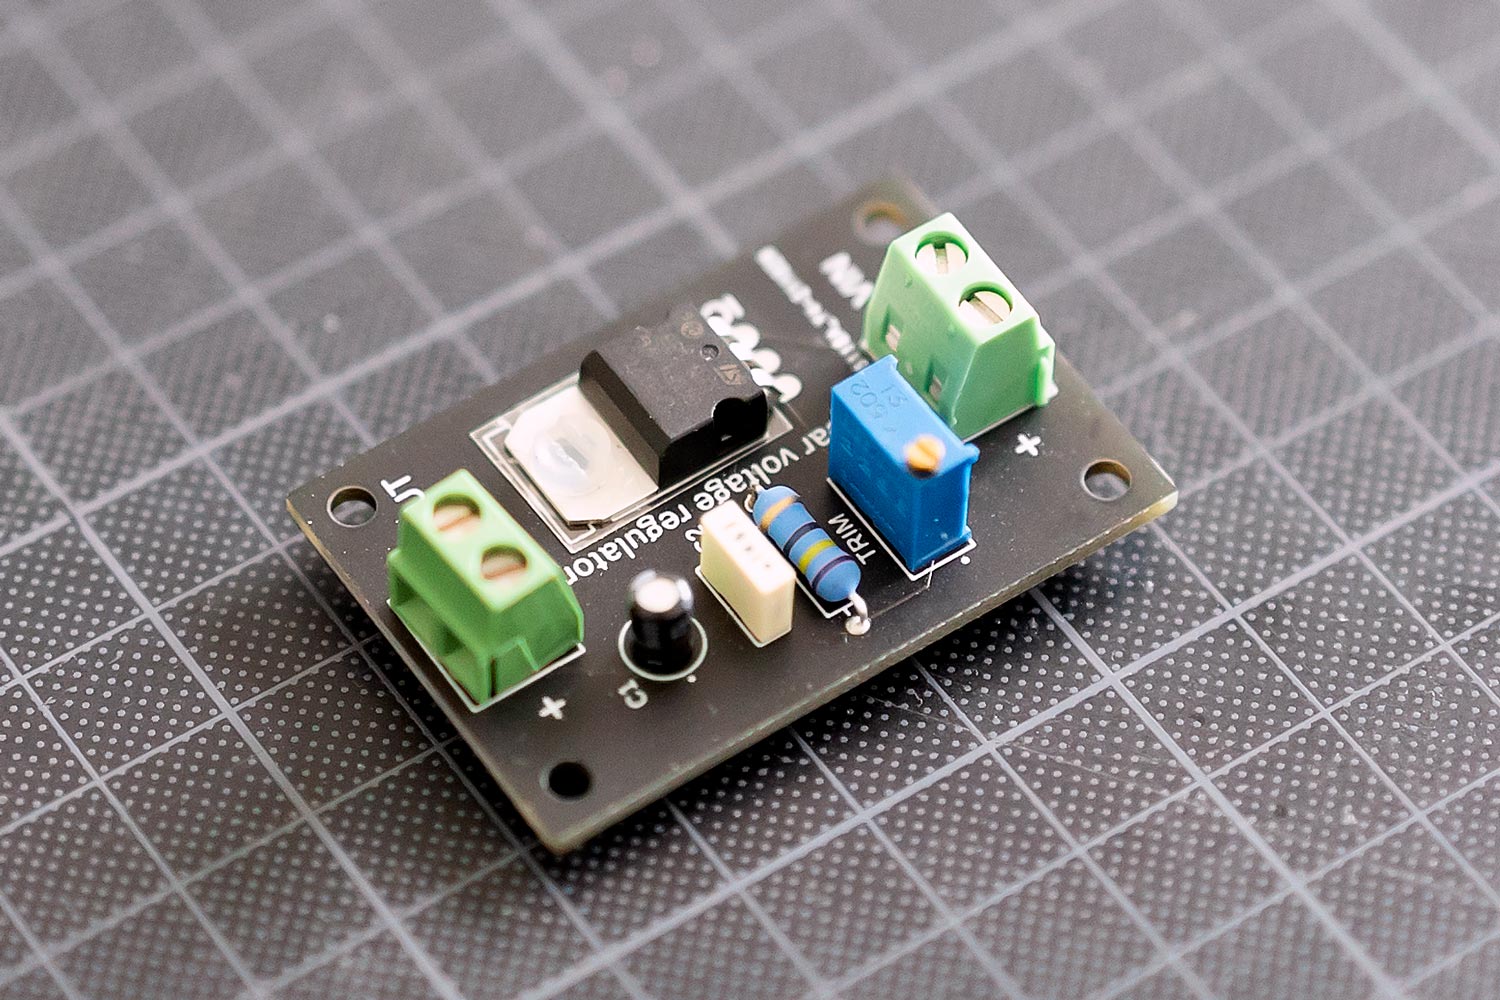
After testing the circuit on a breadboard, I designed a PCB and sent it to productiown. The resulting circuit board is about 2x4cm. The voltage can be adjusted by turning the adjusting screw on the trimmer. If the LM317 generates a lot of heat, it can be mounted upright and a heat sink can be added.


Credits
The component was made possible by the help of Peter Knobloch and Elias Mack.